Learning HTML for Kids!

What’s on this page?
Chapter Ten
More formatting, blockquote, plus comments
So far we’ve learned how to put text and images on our webpage, but let’s say we want to change the look of the text. Easy. We’ll just use some more formatting tags, such as bold, strong, italic, emphasized, small and strikeout.
Bold
<p><b>Here is bold text.</b> </p>
Strong
<p><strong>Here is strong text.</strong></p>
Italics
<p><i>Here is italic text.</i></p>
Emphasis
<p><em>Here is text emphasized.</em> </p>
Small
<p><small>Here is small text.</small></p>
Strikeout/delete
<p><del>Here is text with strikeout.</del></p>
Now let’s try this on our own.
Step One
Enter the following code in your text editor.
<!DOCTYPE html>
<html>
<head>
<title>Formatting Text</title>
</head>
<body>
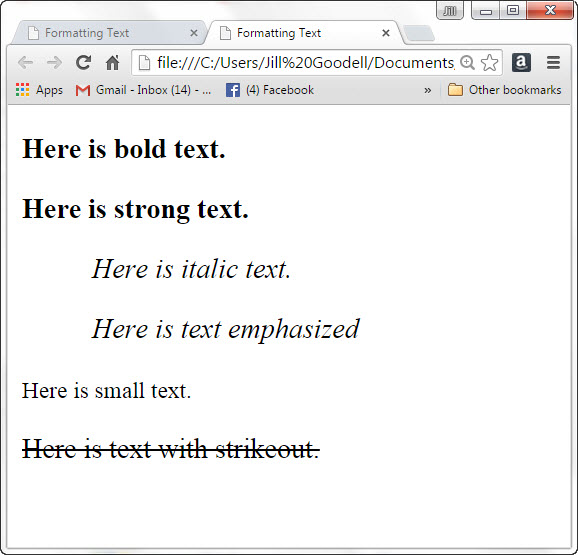
<p><b>Here is bold text.</b> </p>
<p><strong>Here is strong text.</strong></p>
<p><i>Here is italic text.</i></p>
<p><em>Here is text emphasized</em> </p>
<p><small>Here is small text.</small></p>
<p><del>Here is text with strikeout.</del></p>
</body>
</html>
Step Two
Save the file as formatting.html in HTML folder.
Step Three
Open to view in the browser. Does it look like this? If not, best look over the code for a missing mark!

Blockquote
Sometimes, you may want to indent a block of text and or maybe even a sentence. That is done with the simple <blockquote> tag.
Let’s add a blockquote to the text above.
Step One
Make the changes shown in yellow.
<!DOCTYPE html>
<html>
<head>
<title>Formatting Text</title>
</head>
<body>
<p><b>Here is bold text.</b> </p>
<p><strong>Here is strong text.</strong></p>
<p><blockquote><i>Here is italic text.</i></blockquote></p>
<p><blockquote><em>Here is text emphasized</em></blockquote> </p>
<p><small>Here is small text.</small></p>
<p><del>Here is text with strikeout.</del></p>
</body>
</html>
Step Two
Save the file as blockquote.html in HTML folder.
Step Three
Open file to see how it looks in your browser. Notice how the two sentences are indented? No? Then check your code.
Comment
There’s a handy little element that you can add to your webpage’s code that no one can see but will help you later to find things. It’s called Comment and it looks totally different than the other code you’ve seen so far:
<!-
Notice the syntax has
- two angled brackets,
- an exclamation point
- two dashes (-
- ) surrounding the comment text.
Why use the comment element? Because you can leave notes to yourself or to others regarding your code. It helps to remember what you were thinking when you were designing the page.
Here’s the above code with a comment added (in grey):
<!DOCTYPE html>
<!-
<html>
<head>
<title>Formatting Text</title>
</head>
<body>
<!-
<p><b>Here is bold text.</b> </p>
<p><strong>Here is strong text.</strong></p>
<p><blockquote><i>Here is italic text.</i></blockquote></p>
<p><blockquote><em>Here is text emphasized</em></blockquote> </p>
<p><small>Here is small text.</small></p>
<p><del>Here is text with strikeout.</del></p>
</body>
</html>
These comments will not show up in the browser. Test it out yourself. It’s way cool.
Now I think you are ready to take another big step. Our next chapter covers the topic of Styles, which is part of Cascade Style Sheets.
Privacy Statement
Learning HTML for Kids
© 1999-
More formatting
Bold
Strong
Italics
Emphasis
Small
Strike-
Blockquote
Comment